Deprecated: trim(): Passing null to parameter #1 ($string) of type string is deprecated in /home3/myliffu6/public_html/wp-content/plugins/shareaholicold/public.php on line 457
Deprecated: trim(): Passing null to parameter #1 ($string) of type string is deprecated in /home3/myliffu6/public_html/wp-content/plugins/shareaholicold/public.php on line 463
Deprecated: trim(): Passing null to parameter #1 ($string) of type string is deprecated in /home3/myliffu6/public_html/wp-content/plugins/shareaholicold/public.php on line 469
The last few posts I’ve written have had to do with setting up a paper planner that works with your brain and organizational style rather than against it. As you set up your planner, you will want to eventually decide on the different categories you want in your planner – calendar, financial, todo lists, grocery lists, etc. Unless you happen to find one of the many sites that sell homemade dividers, the market doesn’t offer much in the way of “pretty”. I solved that problem by making my own.
In response to requests to demonstrate how I made dividers for my planners, I will attempt to explain with the aid of many photos. It is a fairly simple technique and hopefully, I can explain without making it seem more difficult than it is.
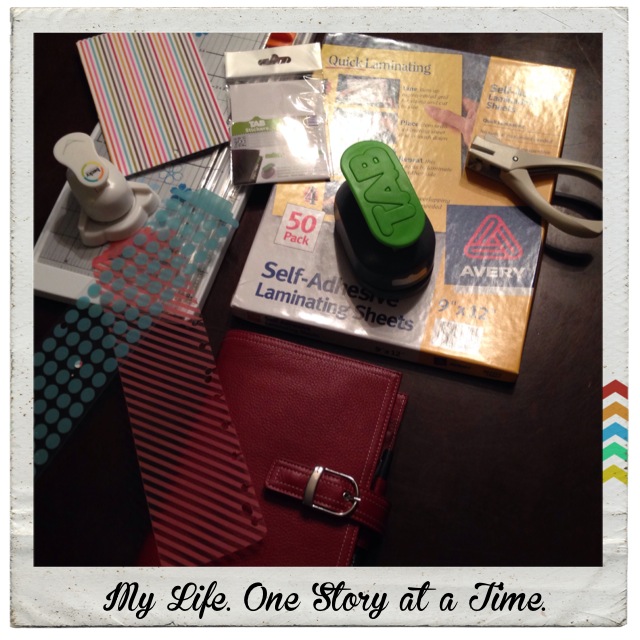
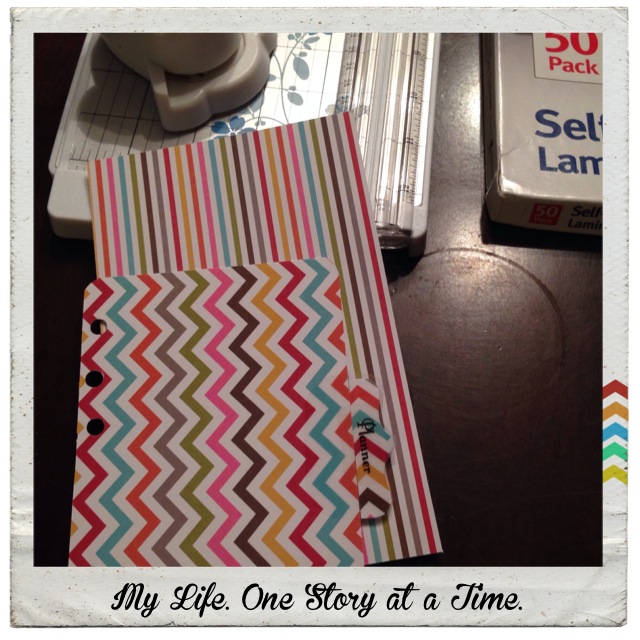
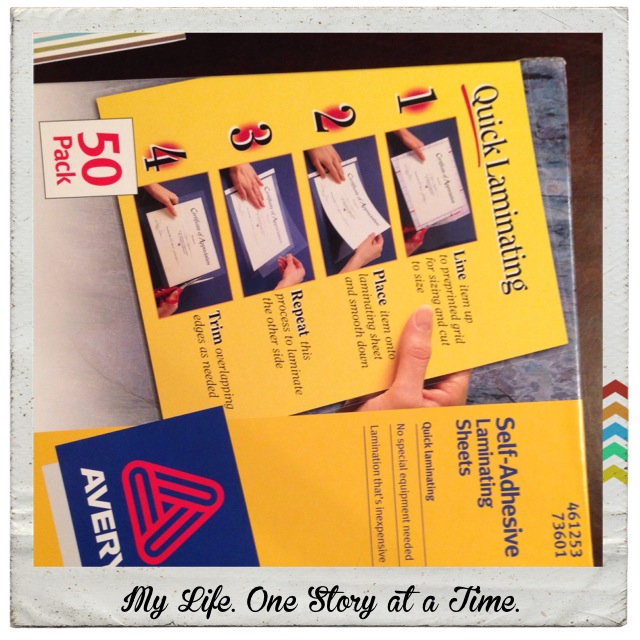
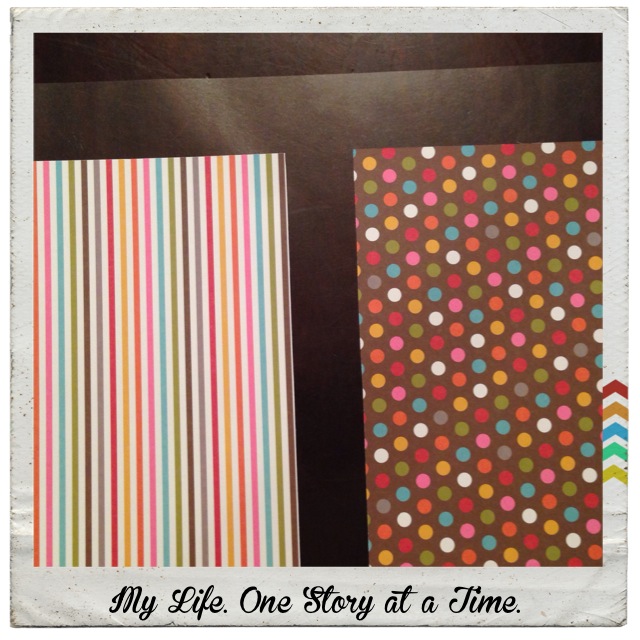
For the following two dividers, I used a double-sided card stock. Normally, I would not laminate a card stock, but for the purpose of demonstrating the laminating technique, I will laminate these two dividers. I also use a paper-cutter, tab punch and tabs, Martha Stewart single hole punch, a round-edge punch, and Avery self-laminating sheets.
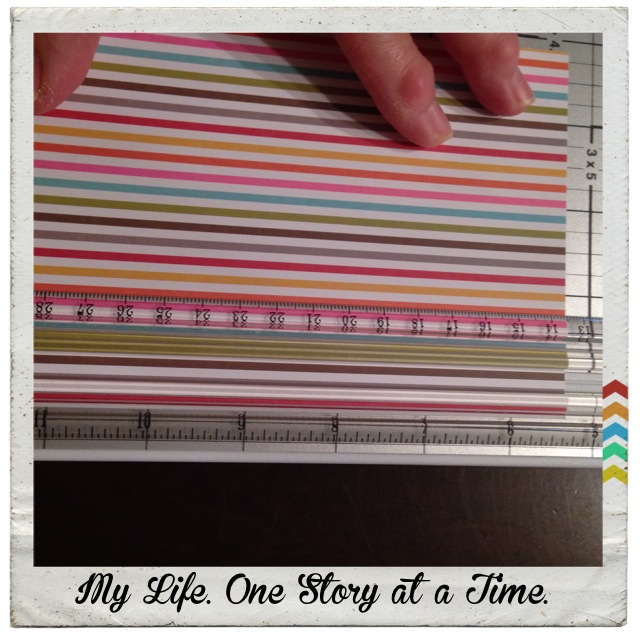
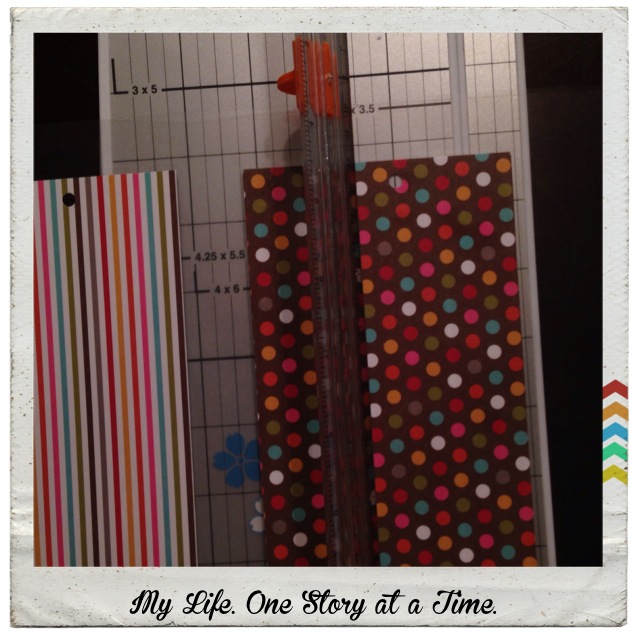
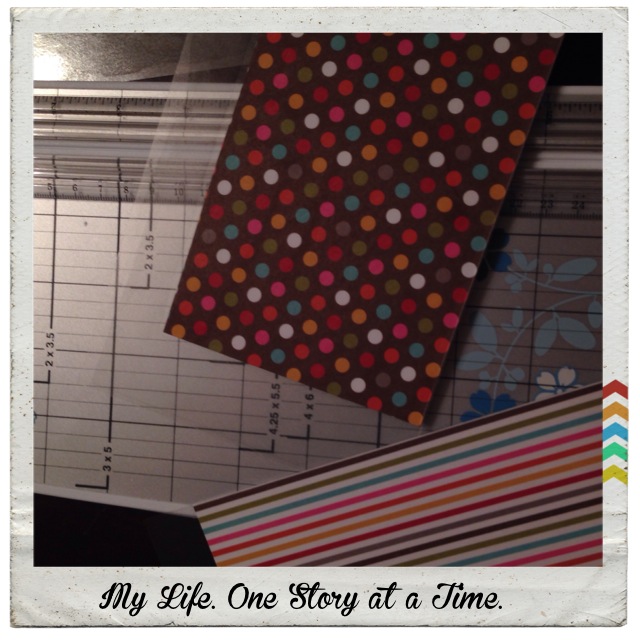
Use one of the pages from your planner to determine the size of the divider. A page width is normally sufficient because you will be adding the tab, which will stick out beyond the page for easy viewing. If you are not using a paper cutter, use this page to trace the divider on the card stock.
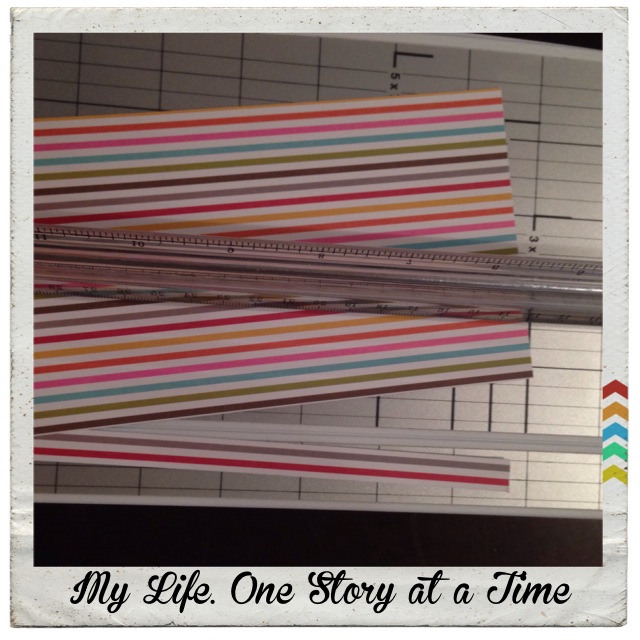
A note before trimming your dividers. If you are not using one of the tab punches, you will need to trace a tab on your divider before trimming it and laminating. If you do not have confidence in your ability to free-hand a tab, grab a file folder and trace the tab and cut it out with scissors. If you do not have a cutting board (and the variety and price of the many on the market range from very cheap to expensive) just use a good pair of scissors (one that cuts) and cut along your trace lines.
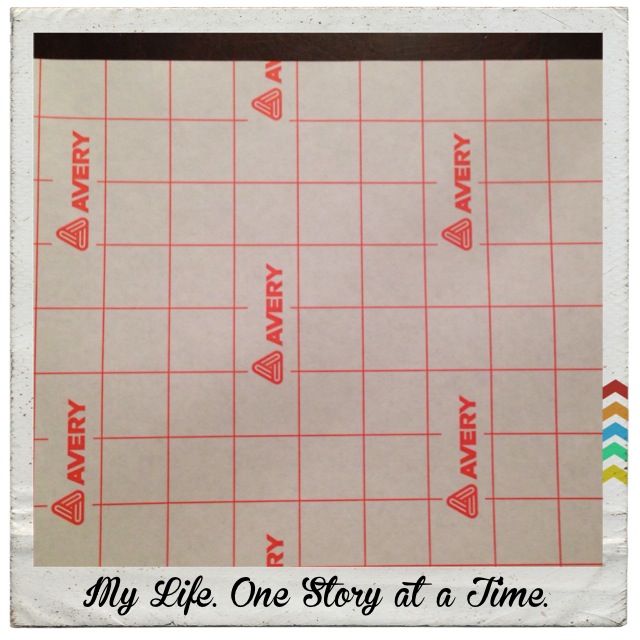
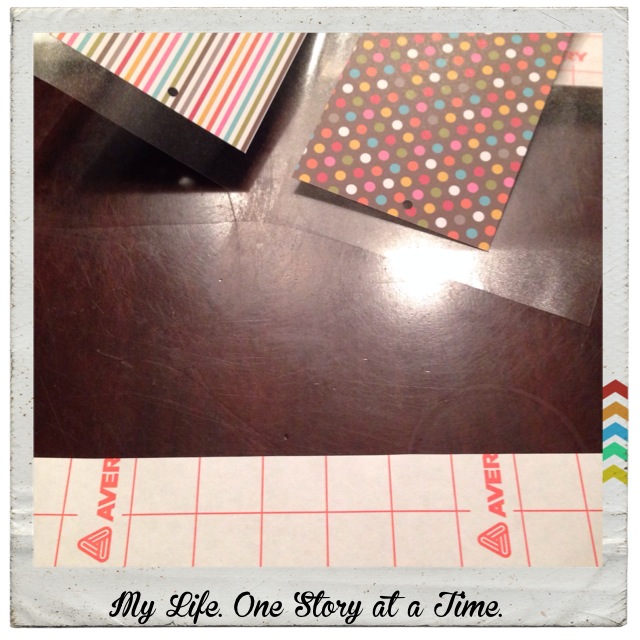
Once the card stock (or decorative paper) is cut to size, lay one sheet of the laminating sheet paper side up on the table. I use laminating sheets and have found that these serve my purpose quite nicely. There are a number (loads) of laminating machines on the market, both hot and cold. I do not laminate many things and have not felt the need to purchase one.
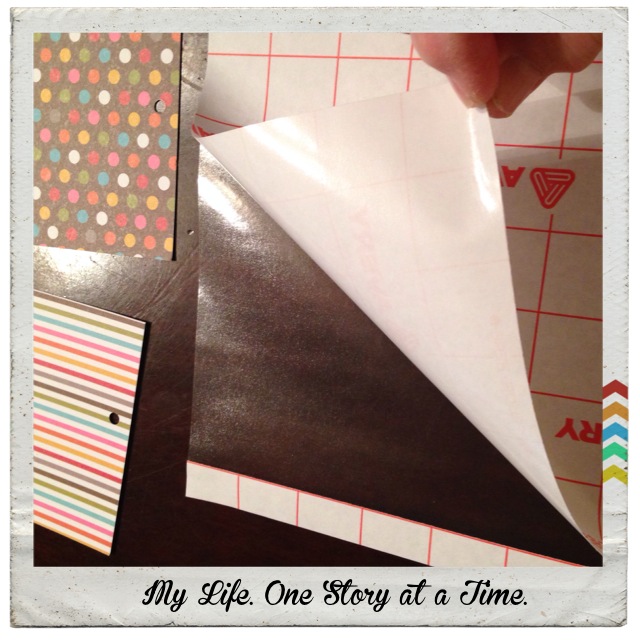
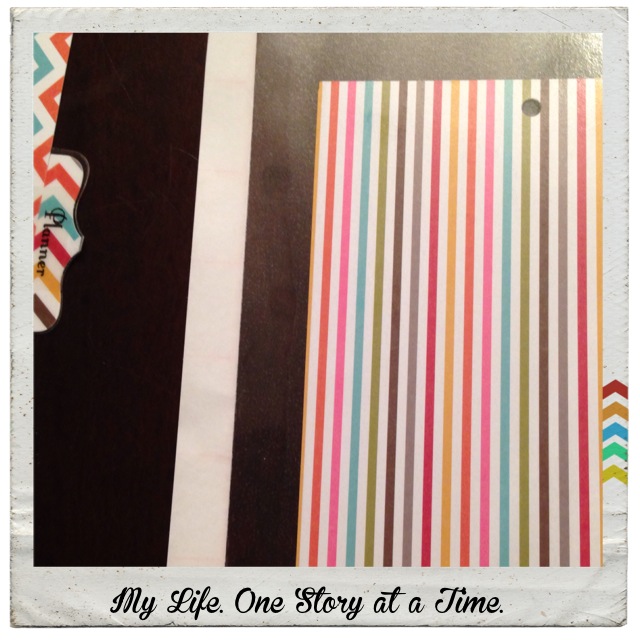
Peel the backing slowly working from the top left-hand corner. Be careful not to touch the sticky side unnecessarily because it is very sticky. The sheet will lie flat on the work surface. Once it is exposed, lay each piece of card stock (one sheet of decorative paper if making large dividers) down on the laminate. This size card stock allowed for two to a page of laminate. I placed them side by side.
Next, pick the sheet of laminate with the two pieces of card stock up and lay it to the side.
Place a second sheet paper side up on the work surface. Peel the backing off as before. Place the sheet containing the card stock on top sandwiching the card stock between the two sheets of laminate matching the white strip at the end. Smooth out all wrinkles by running hands over the card stock. Matching up the two paper edges that remain on the end after removing the paper backing make this task very easy. Match the paper edging and hold with one hand while you roll the dividers down until the papers are stuck together.
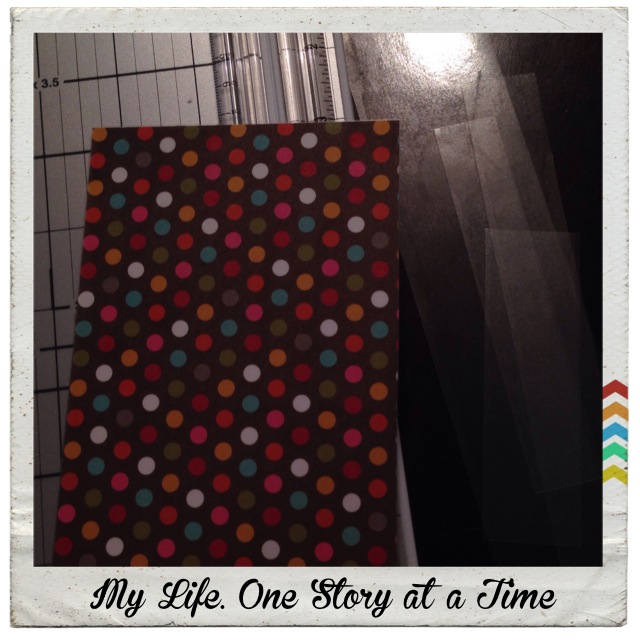
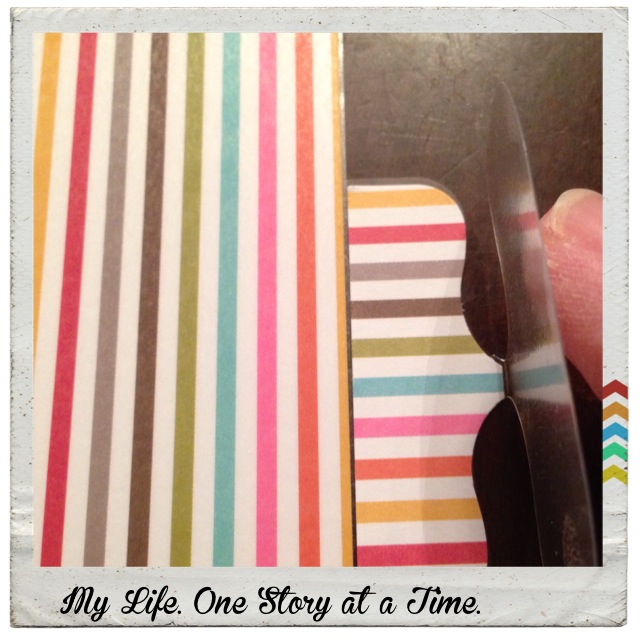
After smoothing the laminate and making sure the bubbles are worked out, the next step is to cut the extra laminate away.
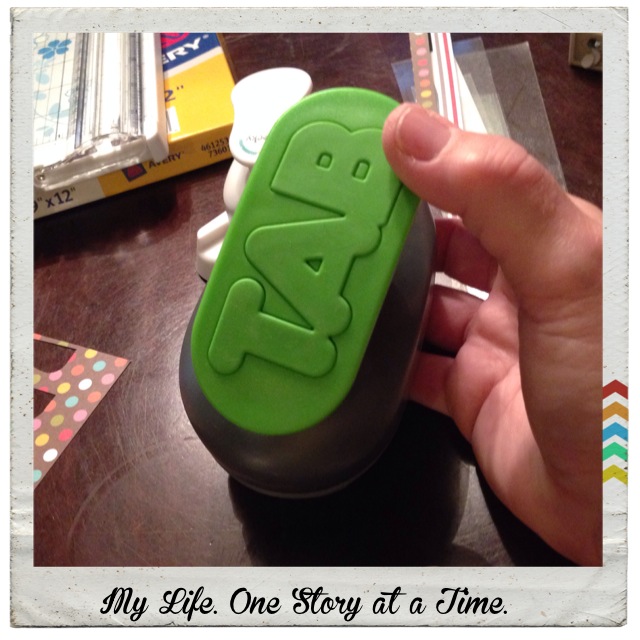
After trimming the excess laminate, set the pages aside to work on the tabs. If you do not have a tab maker, you should trace a tab on the divider before cutting and laminating so it will be one piece (see above). I use a tab maker and the laminating tabs that come with it.
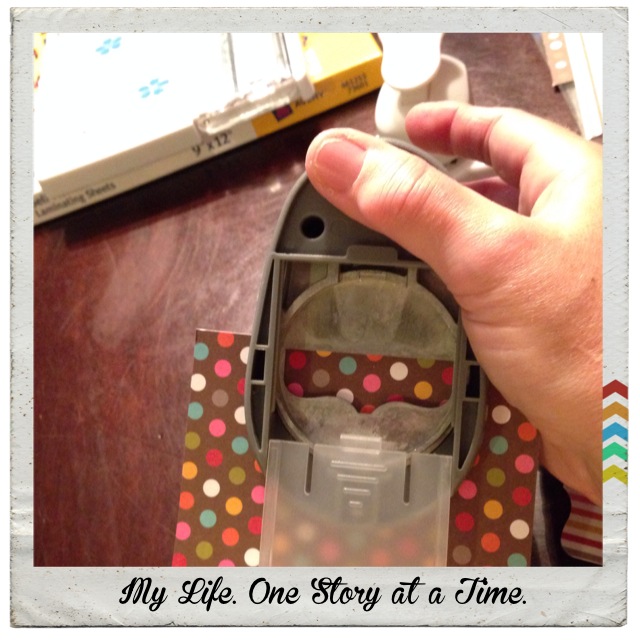
I punch the tabs looking at the bottom of the punch to cut as close to the edge as possible to avoid waste. This leaves the rest of the page for another project.
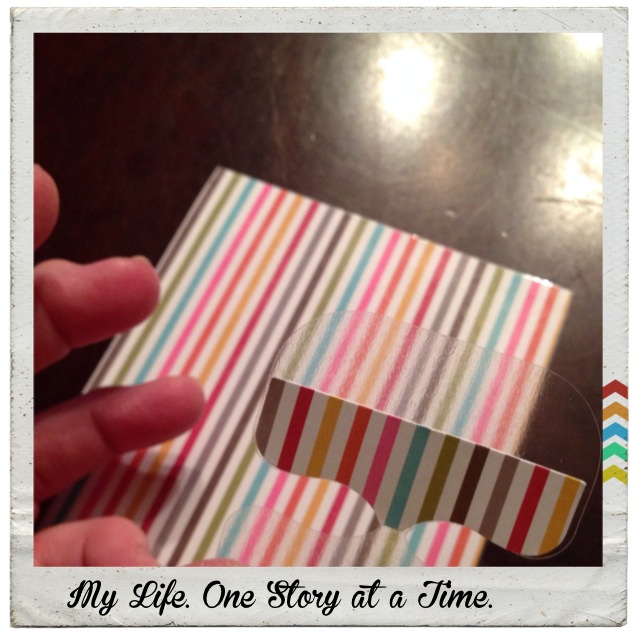
Place the cut tab onto the tab laminating sheet and stick to one side of the divider page.
Fold over the top of the tab and adhere to the top of the divider page. Press to seal.
This is a little messy, but you can unstick and redo. It was a little difficult trying to do the project and photograph it at the same time.
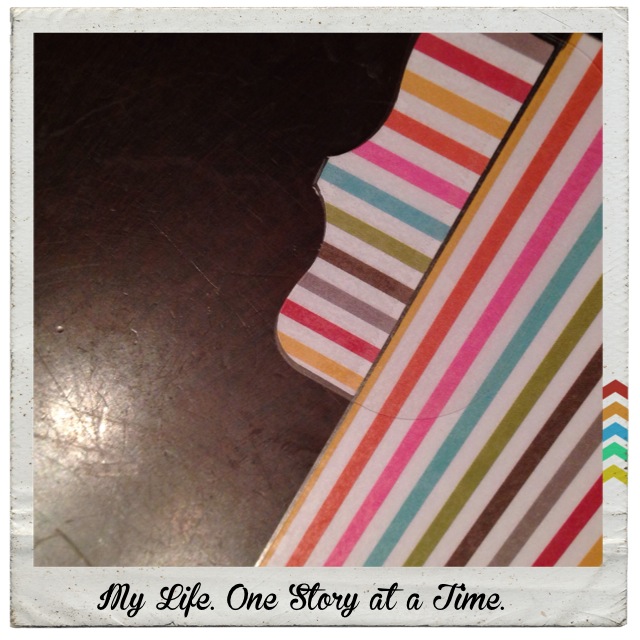
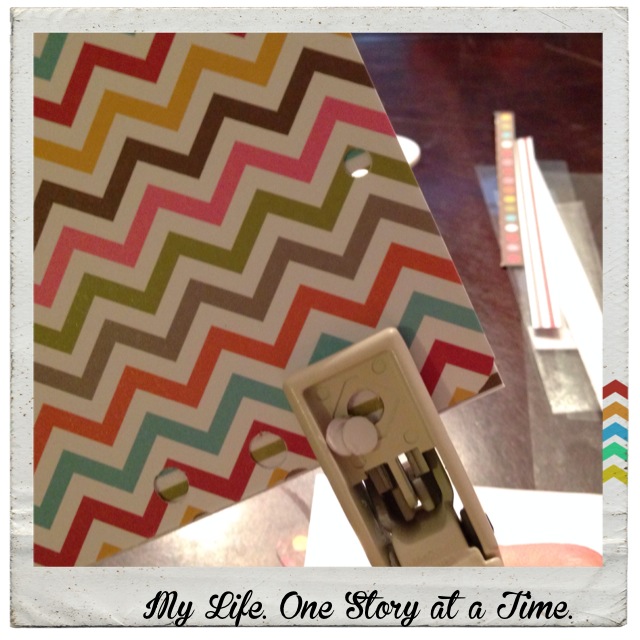
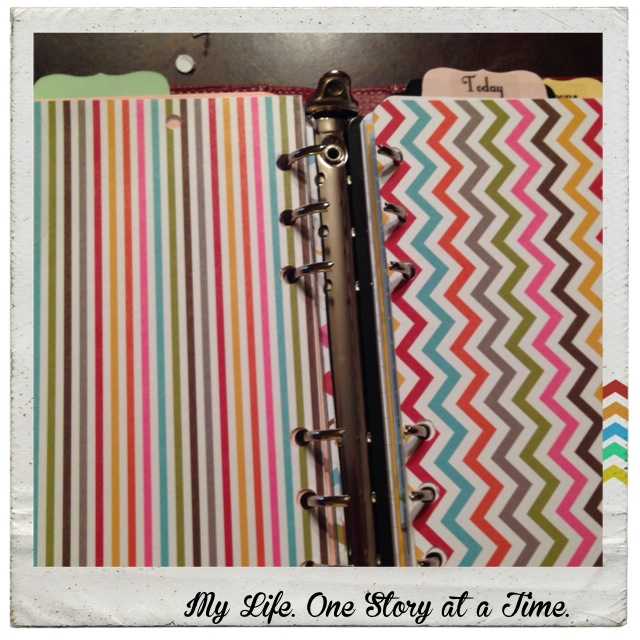
After the tabs are done, use the edge rounder or scissors and round off the inner corners. Then using another divider as a guide, punch the holes in the new divider and place in planner. I really like this particular single hole punch. The hole in the bottom allows you to line up holes when punching. It is a Martha Steward tool and can be found anywhere her products are sold. It is also heavy duty and easy to grip for those of you, who like me (I have arthritis) need that extra help. Using a labeler or felt-tip pen write the name of the category you have chosen.
I hope this tutorial has helped solved the mystery of making dividers with tabs for your planner. It is fun and easy and now you, too, can make your planner match your personality. There is no limit to the different papers and decorations available and for those of you who also scrapbook, this should be a really fun project. I am thinking of doing a set of seasonal dividers next…
If you have any questions, please leave a comment. As always, thank you for visiting my blog. And, if you are looking for a planner group in which to plant yourself, check out Southern Charm Planners on Face book! https://www.facebook.com/groups/LouisianaPlannerGirls/
All products used were found on Amazon or at Michael’s.
Tab Punch (comes with a set of tabs): We R Memory Keepers Tab Paper Punch, Bracket
Tab brackets: Tab Stickers-Bracket
Martha Stewart heavy duty punch: Martha Stewart Crafts Heavy Duty Paper Punch
Martha Stewart rounded corner punch: Martha Stewart Crafts Corner Punch, Rounder
Avery: Avery Self-Adhesive Laminating Sheets, 9 x 12 Inches, Box of 50 (73601)
Fiskar’s cutting board: Fiskars 196920-1001 Portable Paper Trimmer, 12-Inch
Day-Timer Malibu Planner: http://www.daytimer.com/daytimerstore/mwv/product/Malibu-Leather-Snap-Tab-1%22-Portable-Size-Planner-Cover/8177?searchClickId=0159137938%2C861&catId=&prodId=8177
Related articles
- New Planner Dividers + Week 50 Pages (thefullestjoy.wordpress.com)
- Organization Destination Fascination (mylifeonestoryatatime.com)

