Tags
Airstream, Airstream travel, only in your state, points of interest, roadtrippers app, rv life, travel apps, travel tips
An October birthday trip to the Tennessee mountains (2022)
Everyone knows the first step of a trip is planning. Believe it or not, I know a lot of people who dread the planning stage and are perfectly content to drop it into someone else’s lap. I love the planning stage. I love all the stages except for the unpacking at the end of the trip. But, then again, who doesn’t despise that stage?
My planning always begins by heading over to onlyinyourstate.com. This is a great website for learning tidbits about a state, such as places to see, places to eat, waterfall routes, ice cream routes, and history. Absolutely everything! I click off the states I would like information on and unsubscribe from the states from our previous trip and every day I receive an email with the information. I scan through the emails and click on the articles that look interesting and if it’s along our route or would be a great detour, I send the article to my email and file it under that state. (I organize my travel information in a travel file where I have subfolders for each individual state. I also have a file labeled with the month and year of the trip where I store my reservations and other information I may need for the trip.)
After I’ve done that, I open up my favorite go-to app, Roadtrippers, and begin playing around with different routes. When you live in the south and want to travel north, it involves the same route out almost every time and that can get boring. If you’ve never tried Roadtrippers, I really recommend playing around with it. Not only can you put your route in and have points of interest pop up, but you can also add other points and reorder them. I utilize this app so much that I have the paid version. One of the things I absolutely love is when I add a new POI it automatically inserts it in order in our route. How awesome is that?!

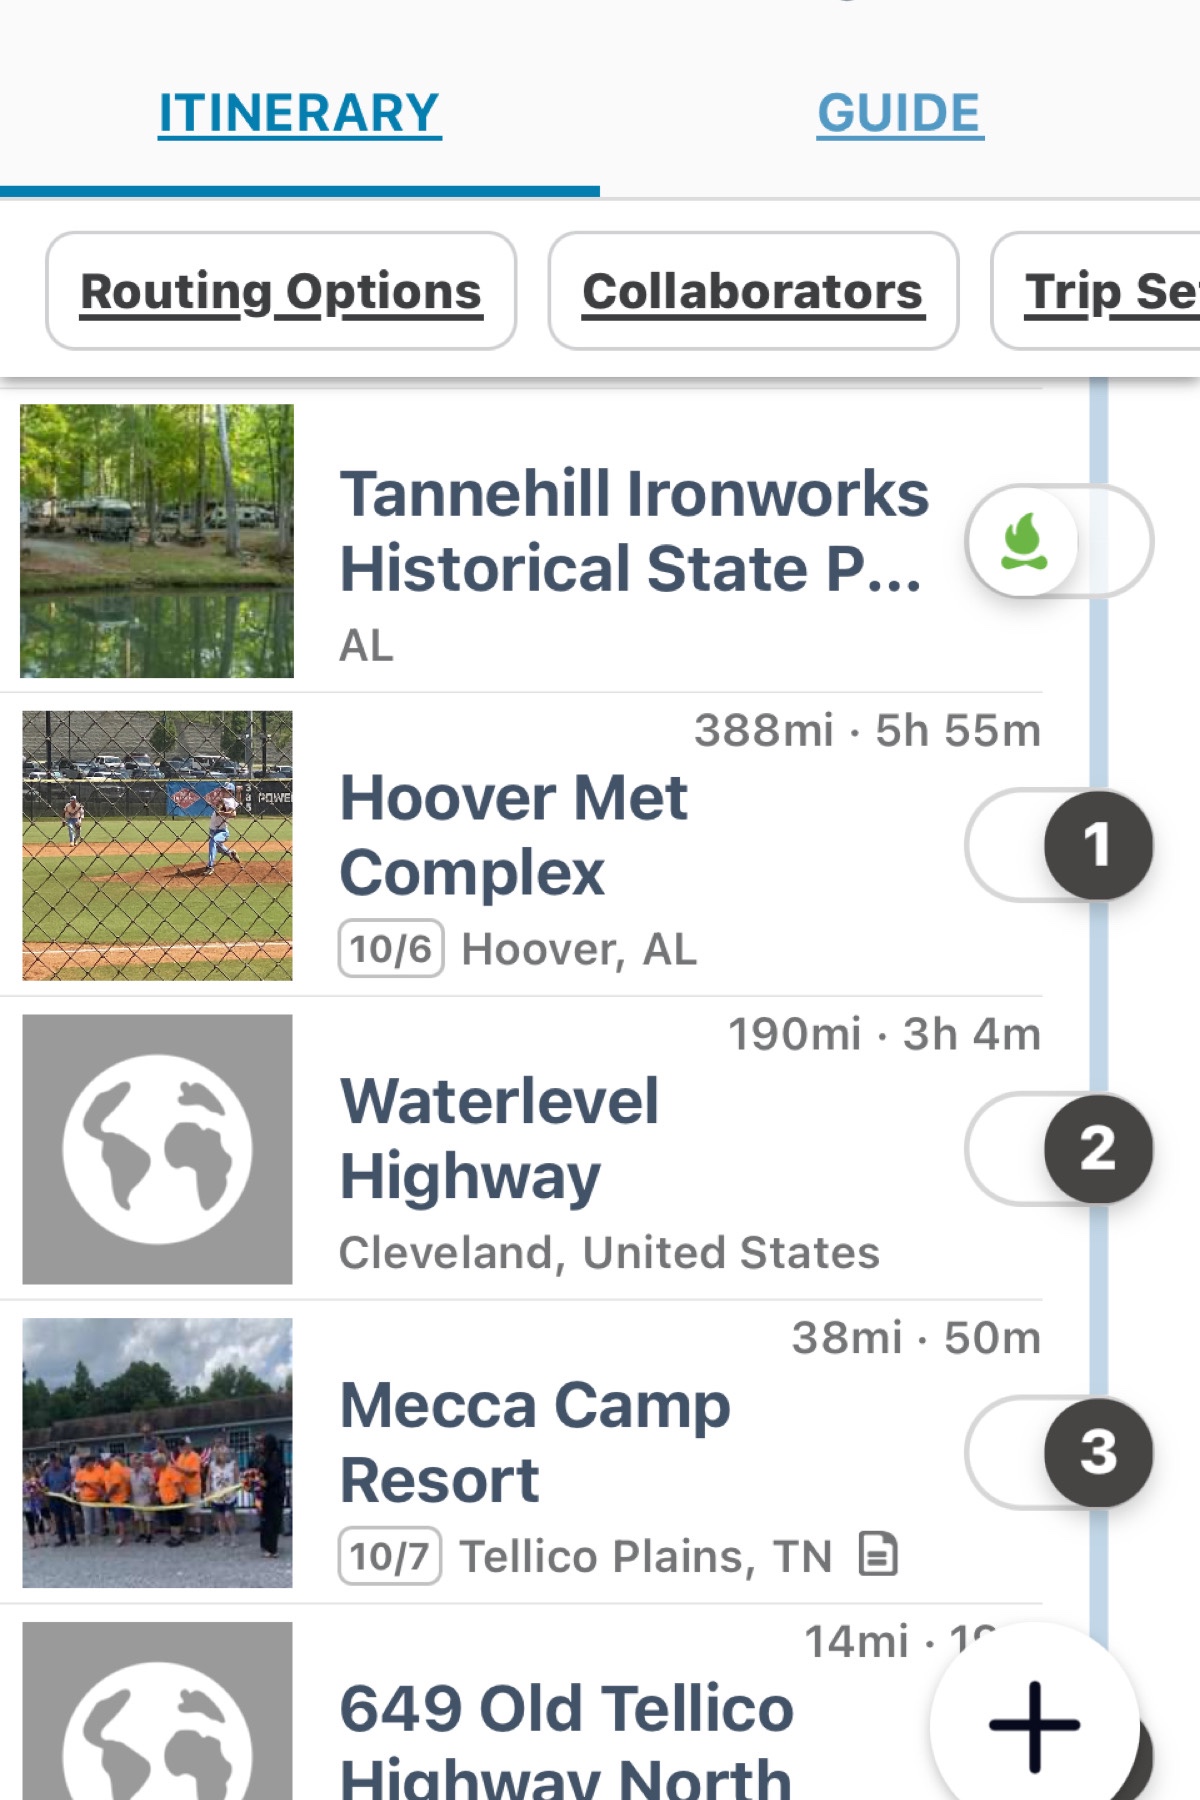
The first step to planning in the app is to insert your starting point. From there, I estimate where we would like to stop for the night and insert that stop next. I do this by clicking on the plus sign on the lower right hand of the screen and do a search for campgrounds. The app will automatically place it next in line and number it. It will also indicate the time and miles to the stop. Keep in mind if you are towing, the time will be longer. The app estimates vehicle travel only.
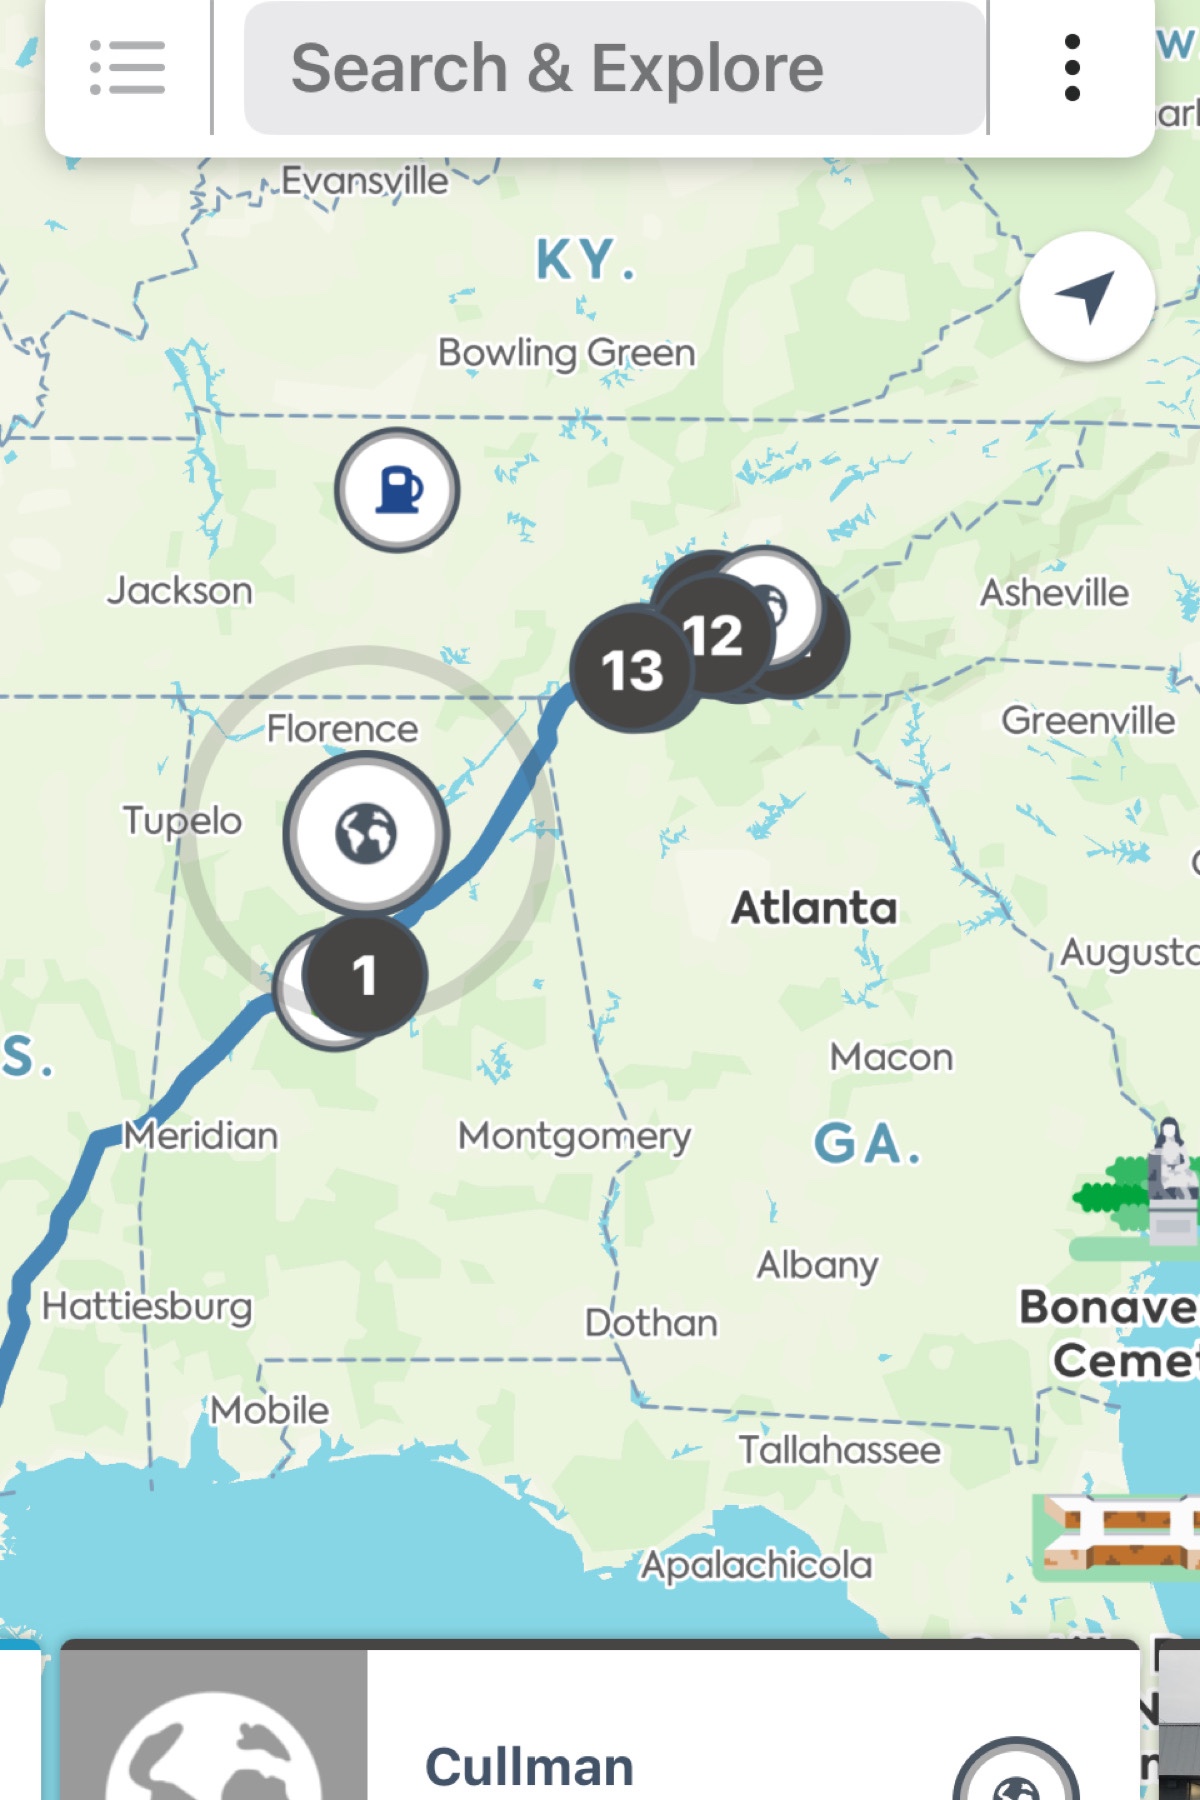
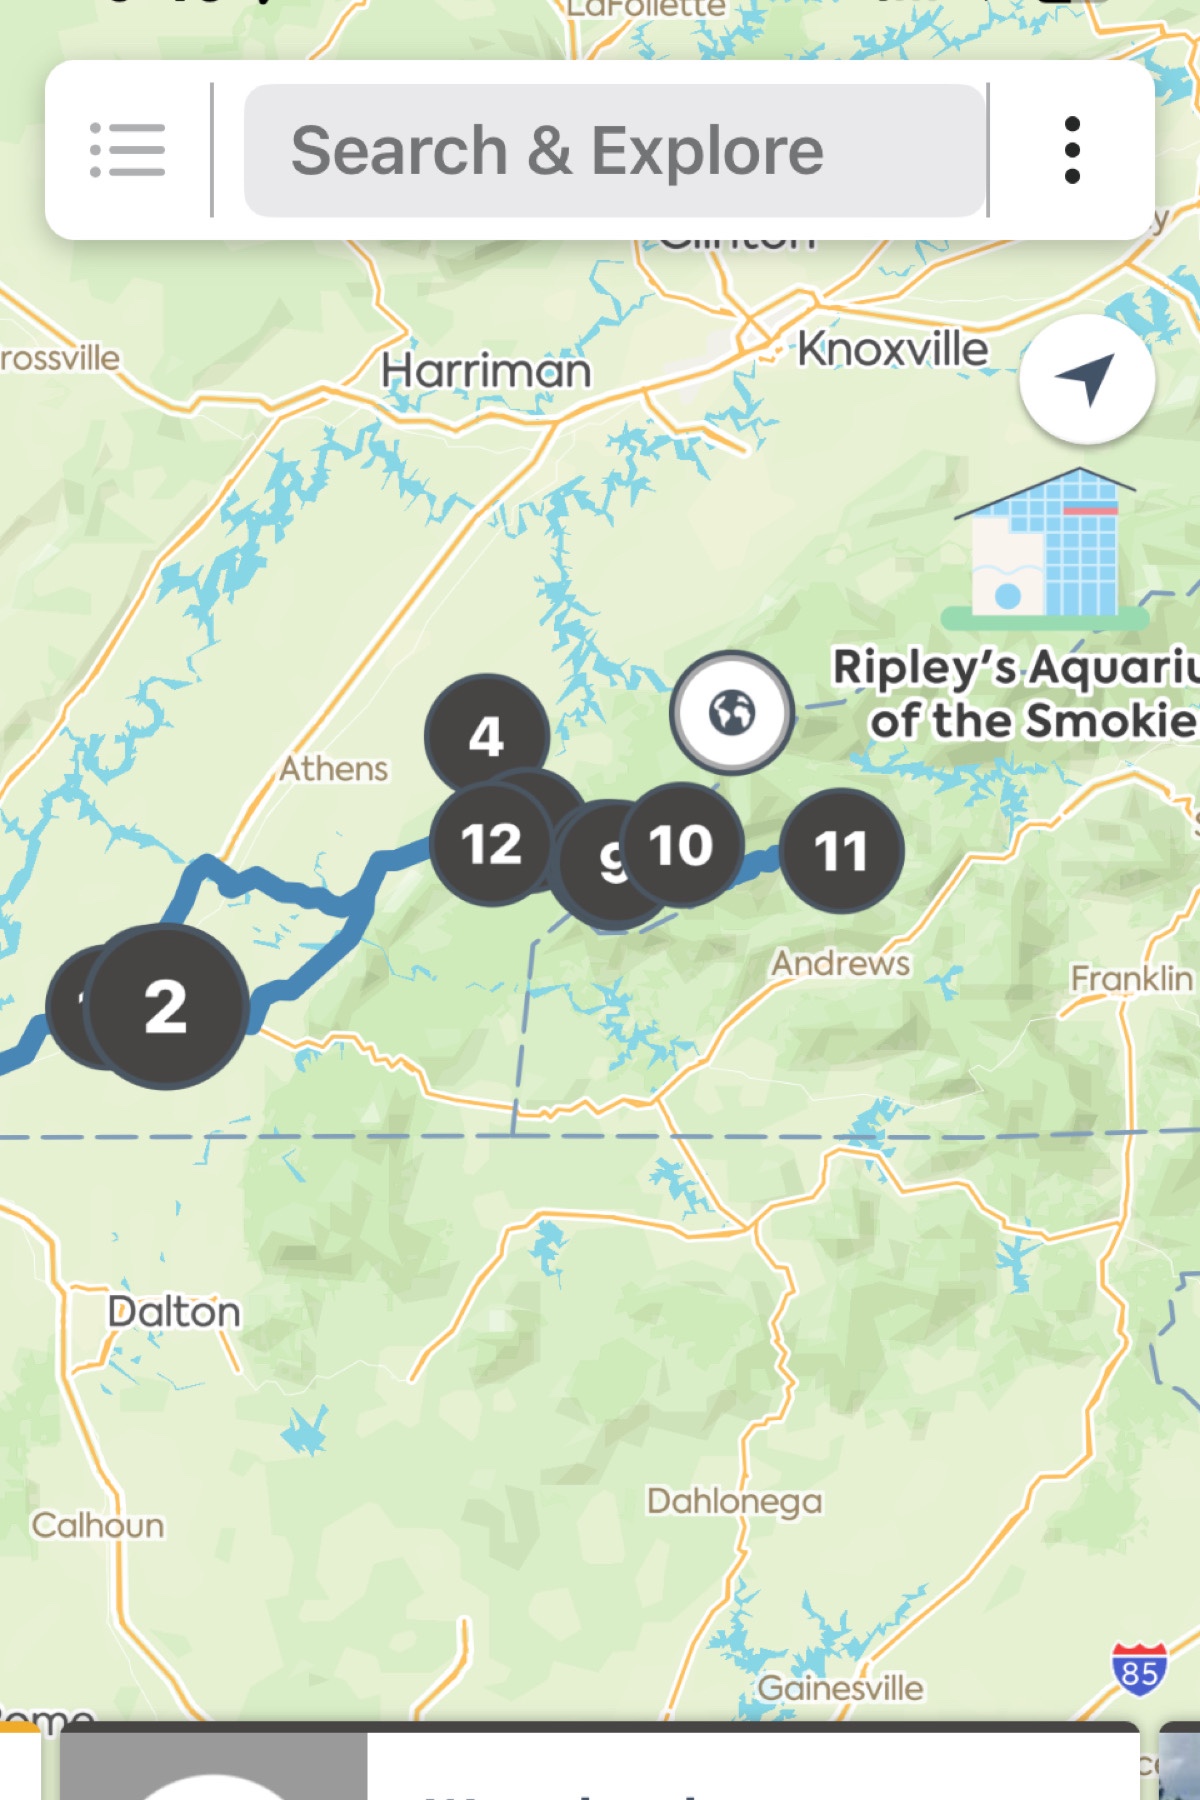
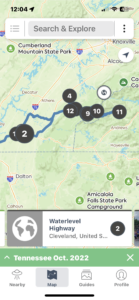
As I see points of interest or check out the emails I’ve saved, I begin to add those in. As I mentioned above and will again here, the app automatically inserts the points of interest in the order you will approach them. For this particular trip, I had a set destination so I did put that in the app and it set a route. Once you type in a few stops, you can load it on the map by clicking “map” and as you will see in the second photo, the trip is loaded. You can also see the coordinating numbers.
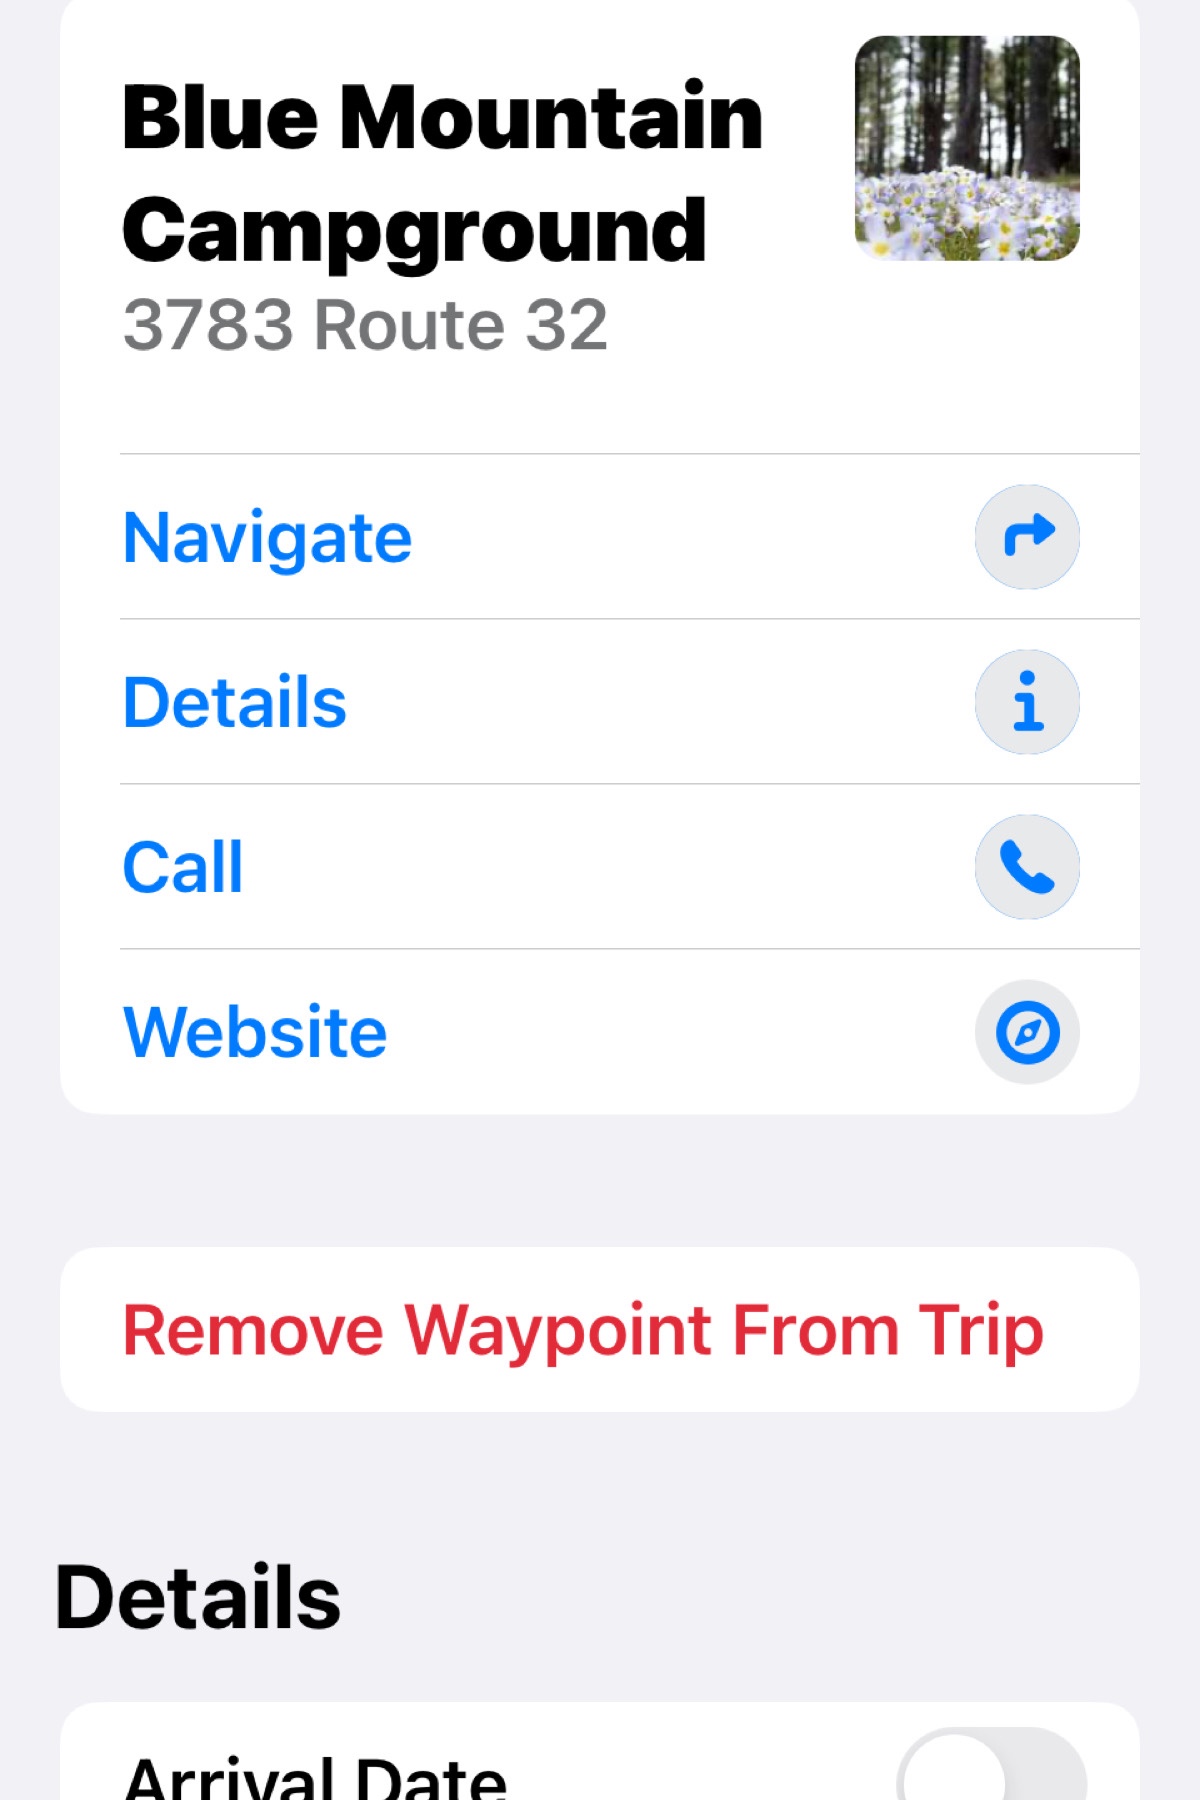
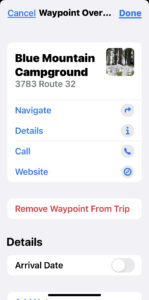
From the view in the first picture, you can click on any of your stops and add extra information such as reservation information and even visit their website. Using the Itinerary page, you can hold down on a destination and move it up or down and it will renumber itself and change your route on the map view. Another feature is you can add stops but not have them factor into your itinerary by moving the number slide to the left (see first photo.) The stop will stay on the map, but you will not be directed there and the mileage will not be added in. I like this feature because I can see extra stops if we want to take the time to stop and if we don’t we just bypass them. At any point during your trip, you can turn stops off or on and off again.
This is the map view of Roadtrippers. It does have voice navigation if you choose to use it. I only use it once we are stationary because it does not offer RV-friendly navigation like RV Life does. The map also warns of closure along your route. When I was planning a northern route, it warned me of snow closures and flood warnings.
Roadtrippers is very easy to use and comes with a free and paid subscription, which renews annually. I recommend downloading and playing around with the free version and seeing if it fits into your travel style. If you have any questions, leave them in the comments and I’ll be happy to answer them if I can.
